曾經對自己允諾不再做樹脂模型,卻為了自己胡思亂想的
八卦山計畫而破功了! 就是它 C-124 GLOBALMASTER
I had promised to myself that I willl not make the resin
model anymore,but for my 1950's USAF project,
my words are broken.
開箱第一眼就是這樣,層層泡泡紙包覆,RESIN的物性不同
於射出塑膠,沒有彈性與韌性,first glance of the kit
小物有分隔包裝 small parts packing
組裝圖與塗裝說明就是這一張兩面印刷A-4,好簡單
instruction is one sheet w/2 side mono print only,simple
好大的一個砂鍋魚頭 what a BIG HEAD
同比例 C-130 被這樣一比就沒看頭了
The same scale C-130 is so little
比較一下不同機型的機翼,你可以認出來是那些機型嗎?
Here comes 4 wings,do you know them?
機身後段內部結構 rear fuseladge parts
雞頭段的結構,本來想開蚌殼門,決定不要自討苦吃
I found that will be a mission impossible for me to make
the shell cargo doors opened, so I give up!
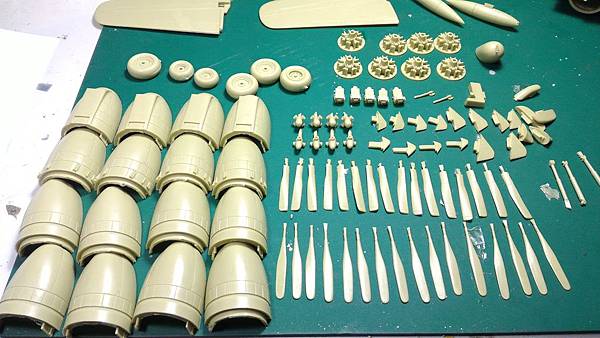
就是這樣一堆樹脂零件 the main parts
一堆樹脂.. a lot of resin parts
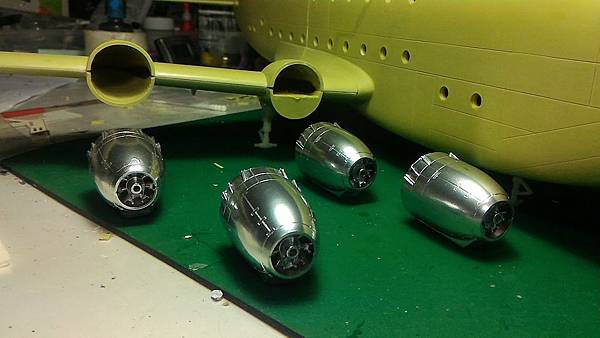
分類清點零件,附了兩種不同引擎整流罩喔!
the kit comes with 2 different engine fairings
清洗晾乾 wash the stripping oil

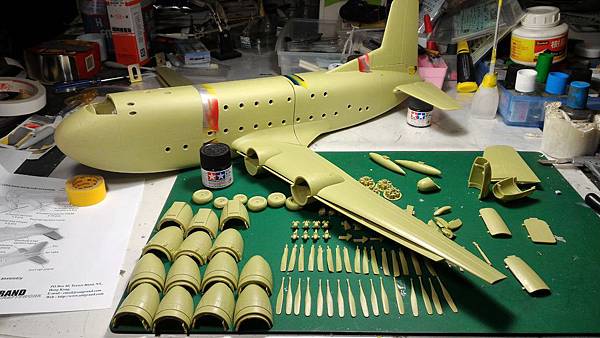
當然要先假組合檢查過癮一下 pre-assemble for checking
機翼是重點,必要的手段是無法省略的.,這是左翼
左翼定型換右翼...
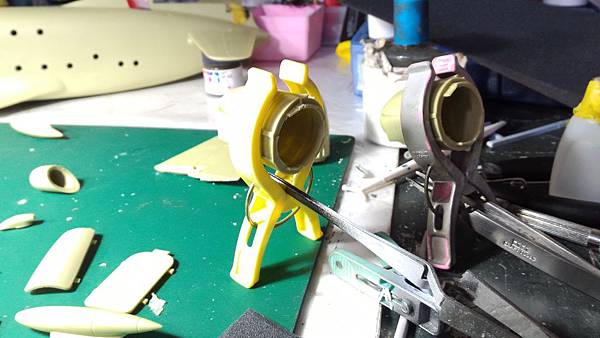
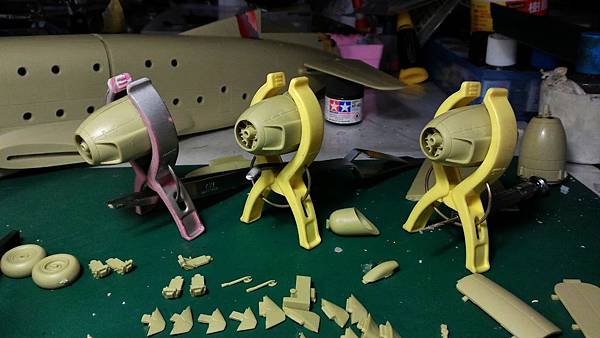
機身後段結合,預做固定修正 the rear fuseladge,
use the fixture to fix them before cement
主翼兩端油箱 wing tip tank
顧慮日後收藏,主翼決定做成可拆式,這樣的原廠設計,
很明顯強度不夠
For strorage purpose,I decide to make the main wings
are removable,so I have to remake/reinforce the structure
AB膠上場! I use the EPOXY as the reinforce material
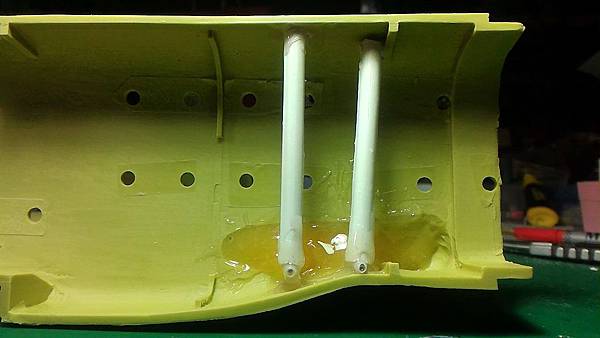
在機翼內側填入AB膠,作為支撐,
I fill in the EPOXY inside the root of the main wing

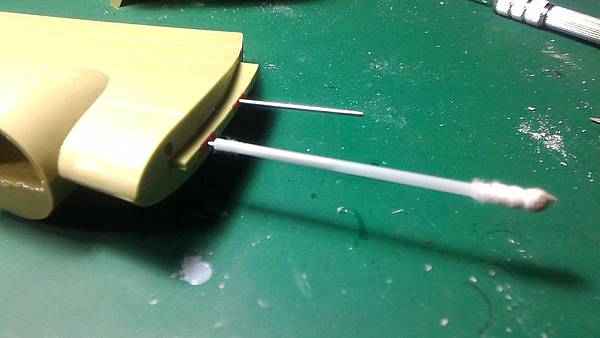
手鑽打動埋樁 Hand drills the holes for reinforce pin
為了機身的補強鋼針預留孔,用棉花棒的軸當間隔
機身與機翼結合補強
fuseladge interior reinforcement with EPOXY
主輪架是尼龍材質,the structure is NYLON
準備配重,感謝好友廖德建支援鉛蛋...
balancing weight! Special Thanks my friend 廖德建,
he support me these lead ball for weight
夾具無法施力處,用尼龍束帶施力加壓
雞頭段內側的補強
雞頭持續加壓固定 keep presure on the body
試著自己站起來
try to stand up by landing gear structures
兩節機身的結合,無法完美去避免的問題
Ths gaps between the front and rear fuseladge
小縫用瞬間膠加痱子粉 The small gaps I use super
glue and baby powdwer to mix and fix
大縫先用膠片填入,再用瞬間膠 The larger I use the
thin plastic sheet and super glue

螺旋槳治具,簡單瓦楞紙就可以做了
propellar fixture,I use the carton to make it!
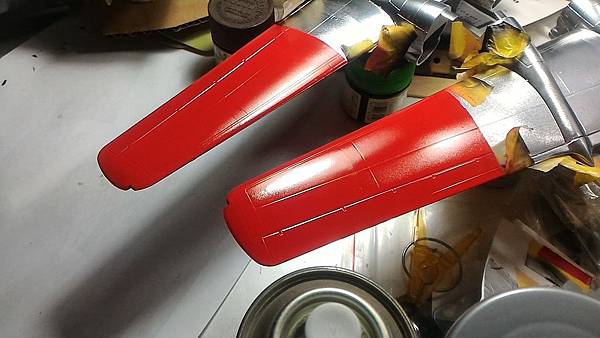
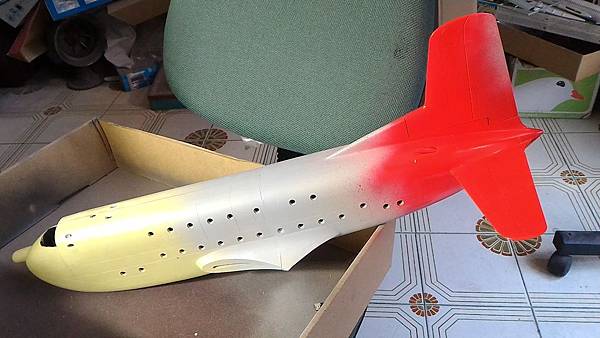
果然預期的問題發生了,壓克力顏料無法完全貼附在噴罐
的塗料表面
The red acrylic painting cannot attach well on the
spray paint surface
用封箱膠帶把紅色漆黏下來
I use the tape to take down the red paint
沐浴淨身,準備上色 wash again before painting
跟C-130對比一下,真的很大
跟我的八卦山計畫其他成員合照一下
to accompany with my 1950's USAF project planes
座艙罩與機身縫隙還是很大...............
The gap between the canopy and fuseladge is large
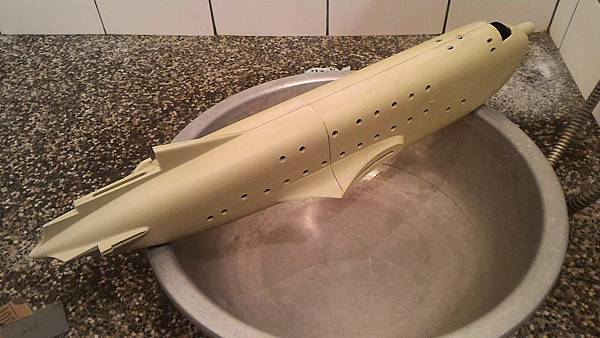
機身後段先上底漆 base painting
這些整人的圓窗.....一個一個都要遮蓋
挑一個好日子噴漆了
pick a sun shine day for painting
靜置多日後,等銀色漆膜乾透再進行
穿上自己的鞋子站起來(輪胎裝上去了)



















 留言列表
留言列表


