
在完成了 C-124 之後,深深被他那巨大而獨特的身形所吸引,
終於按內不住內心的澎湃與衝動~~ 當然要老婆大人編列預算,
通過了我的國防報告,批准了我的這項巨大軍事採購案
When I finished the 1/72 C-124 in 2017,I decided to
make the giant transporter series~
so I placed an order for the C-133
20180319
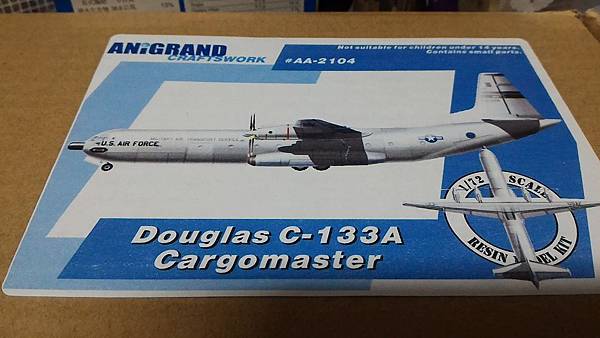
就是這一架~~ 1/72 C-133
Waiting a few days, it landed
在一段難挨的等待日子過後,終於在郵差總按兩次鈴後,
翩翩到來了, 當然在開箱後要先假組合一下
It is necessary to make a pre-assemble 20180319
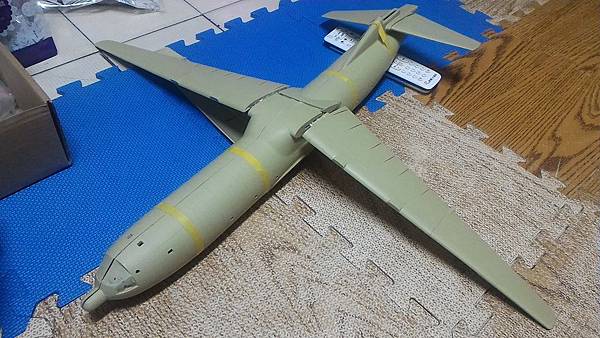
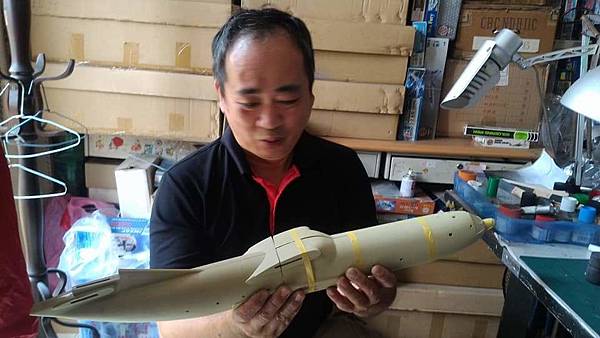
好友 廖德建 接手了第一次假組合,露出了滿足的喜悅
my friend 廖德建 hold the fuselage with surprise~

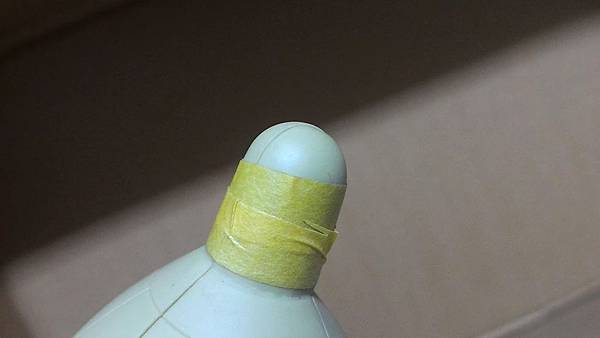
最有特色的鼻子當然要特寫
the radar dome is one of her special feature.
20180319
檢查四片合體的機身密合度,看起來還不錯
The fuselage were separated into 4 pieces,looks good.

一個隧道?? a tunnel?
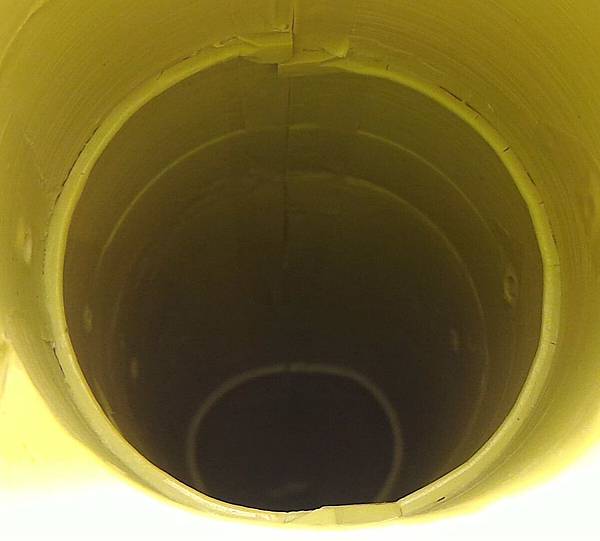
機身尾段下半部假組合還蠻準的 20180324
the lower back fuselage looks good,too.

四個一體成形的引擎做得不錯 20180428
the one piece engine mount is well done.

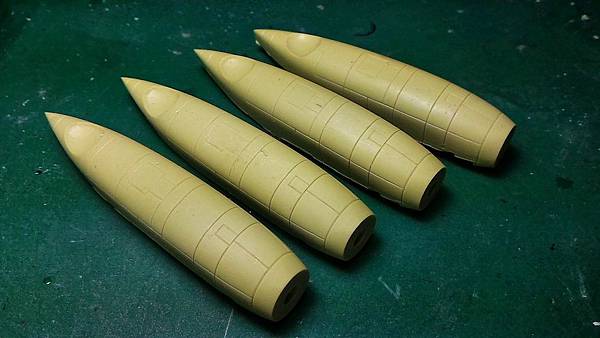
機翼下方的引擎插槽開洞
The hole under the main wing is opened engine mount


機頭部位的假組合,
the radar and canopy pre-assemble for check


巨大的機翼,以實心樹脂零件來說,我覺得品質很好,沒有變形
The giant main wing parts are good quality,not distortion

引擎部位的零件,有一個放錯了,你看出來了嗎??
one if the engine mount type is wrong,here comes
3*right, 1*left

螺旋槳的插槽與槳片的插銷,角度有幫我們預做切角,
不怕完成後的角度不對
The propellers pin and the holes on the fairing that had
the right angle when we insert into the hub.

輪艙與前輪艙蓋
nose gear cabin,and cover
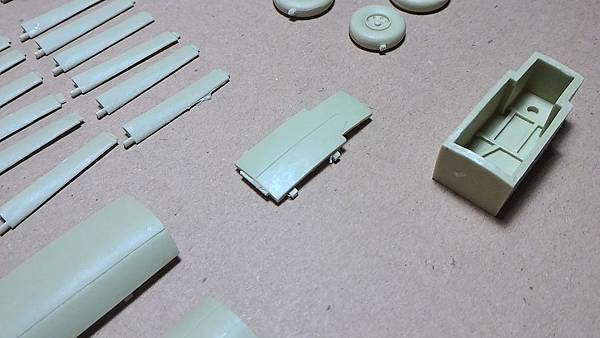
小小的座艙玻璃,透明度很好
the clear parts is good

輪架材質是工業尼龍,應該可以支撐重量不輕的模型
the landing gear structures are made by Nylon
for the heavy model

雙片接合的垂直與單片一體成形的水平尾翼
The horizontal tail was made in one piece,and
the vertical tail is 2 pieces

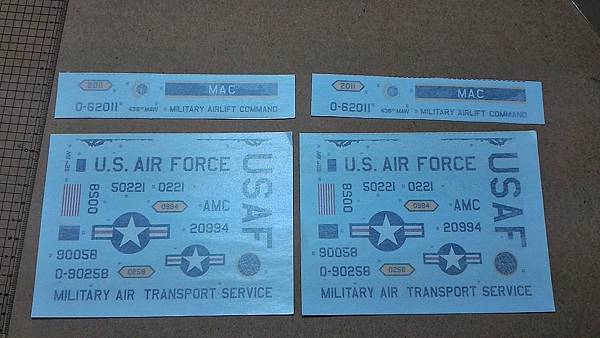
這家公司的水貼很漂亮,品質不錯 Nice decals
後段機身的內側 20180428
the back fuselage inside
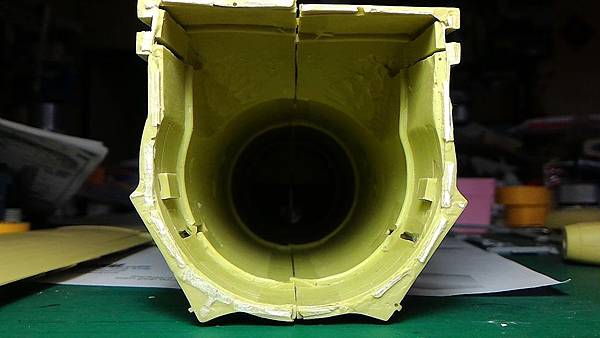
這裡可以看到機身上面的落差
the level gap is amazing

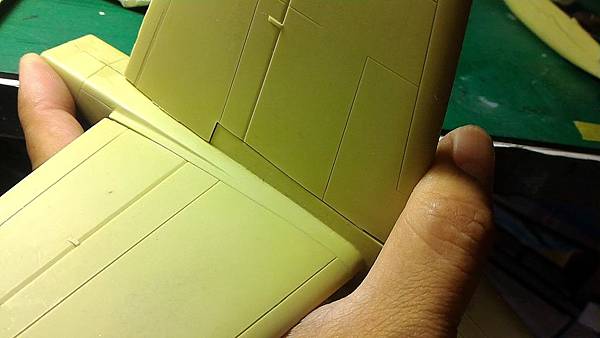
水平尾翼與垂直尾翼的密合度很棒 20180428
it is almoset seamless here
前段機身與主翼的插槽 20180521
the front fuselage and the slot of main wings

上半部主翼的翼根 roots of upper main wings

下半部主翼的根部 roots of lower main wings

後段機身與主翼的接合部位
the back fuselage and the slot for main wings

機身內側的樣子 interior of the fuselage
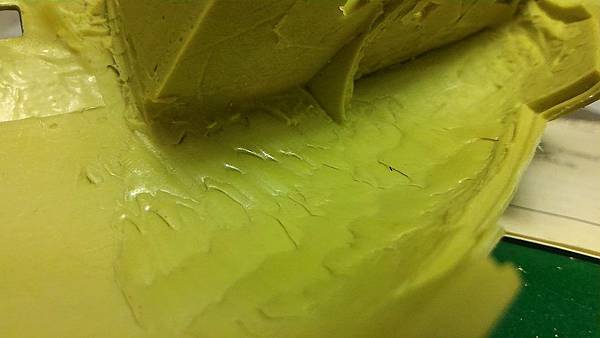
為日後可拆卸的動作預做補強 20180802
in order to take down for storage in the future,
reinforce with steel

補強鋼條用的鑽孔對位
drill holes to bothside


機身接縫插補膠片 20180806 開始停擺~~
the gap filled with thin plate,,and the process stop
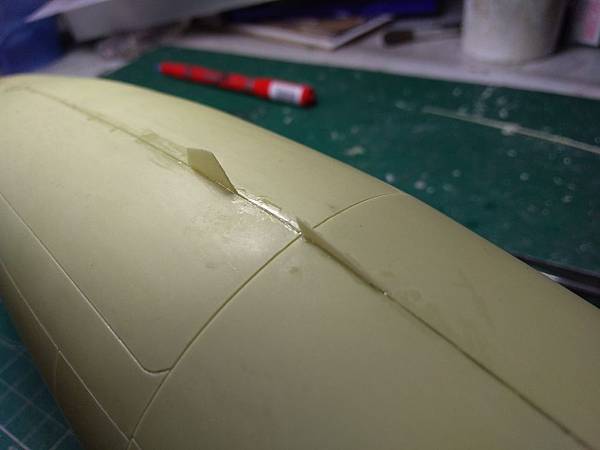
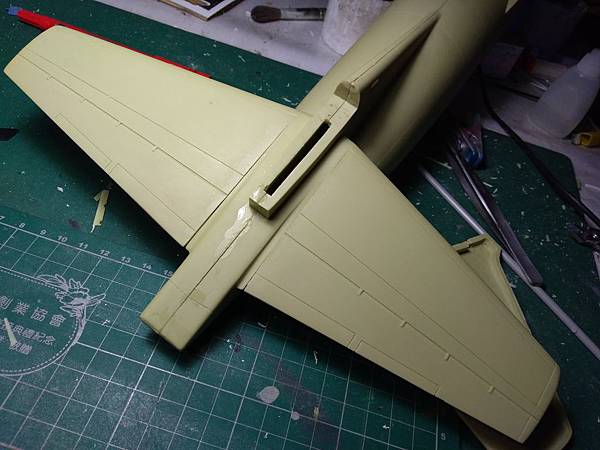
水平尾翼的對接與補強,也避免自動掉落造成損傷
horizontal tail reinforce work done

好肥大的後段機身 20191109 重新動工
what a huge fuselage ...restart processing
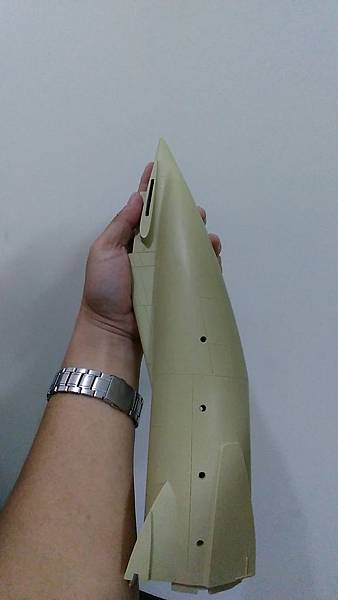
與同比例的YF-17對比一下 20191109
in comparison with same scale YF-17

主翼的補強與對接的做法,讓我停工快兩年 20191111
The way of reinforce the main wings made me stop
the processing of the model almost 2 years,

用塑鋼土定位固定 20191112
use the plastic-soil to fix the steel

插管......不是那個啦,是幫補強鋼針預留通道
use the white tube to lead the steel to put into eachother


洗澡了!! took shower to clear the oil on the surface

開始主翼的接合 main wing assembly

機頭部位接合 20191114
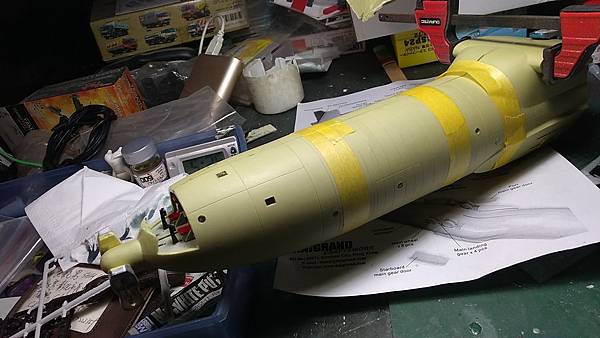
切除不必要的毛邊 cut the parts

機身內部為補強鋼針預留串接通道 20191115
put the white tube inside the fuselage for reinforce steel

用膠條做固定補強
reinforce the tube with plastic

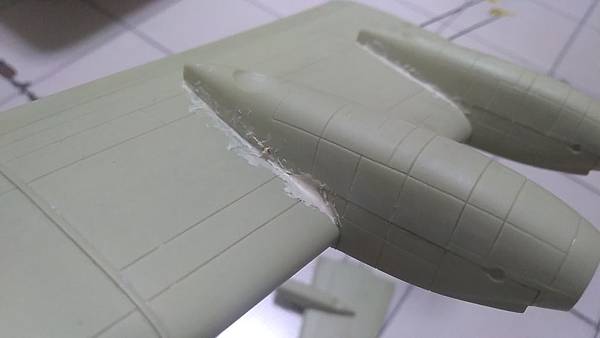
巨大的模型,就相對會有巨大的縫隙嗎???
慢慢地補....... 2191118
a big gap is here
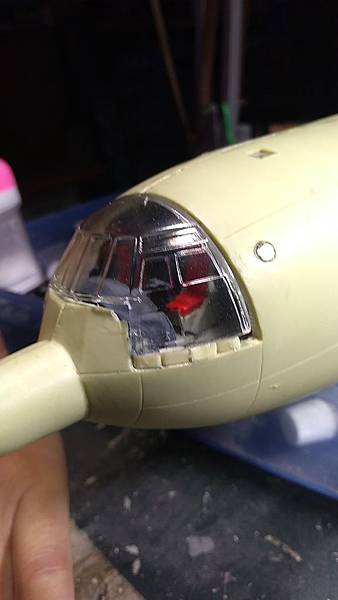
切塊填補打底 putty is necessary

補土~~ 糊糊糊 2191119

機身當然也是


問題來了~~~第一次遇到這樣的落差 20191122
the lever gap is so large
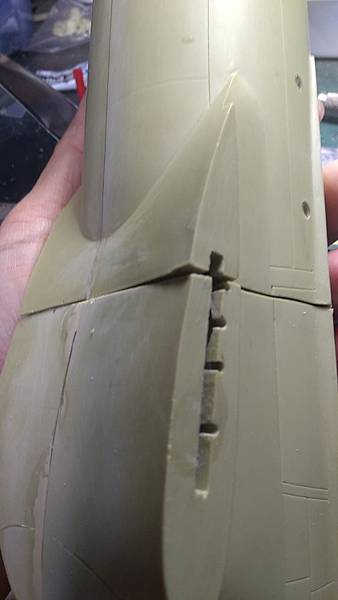
這會是因為中間接縫的設計造成的嗎?
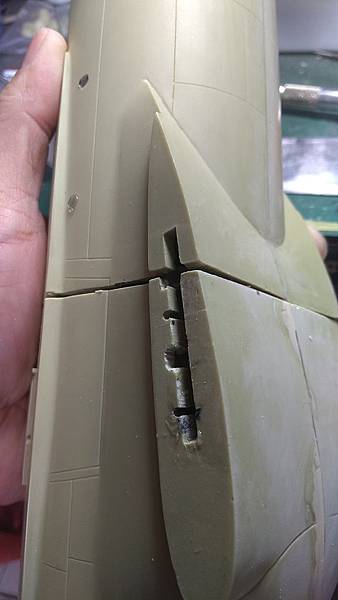
樹脂機身分模設計,造成了機腹的四片接縫

輪艙部位
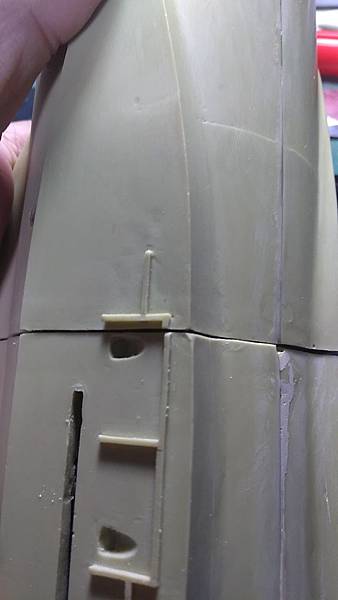
還真的不小的縫隙 20191122

預作配重~~完成後才發現結果還是不夠重......
The weight in front of fuselage is not enough
when the plane is finished

機身確定黏合 fuselage cement together


好大的輪子 20191125
Big wheels
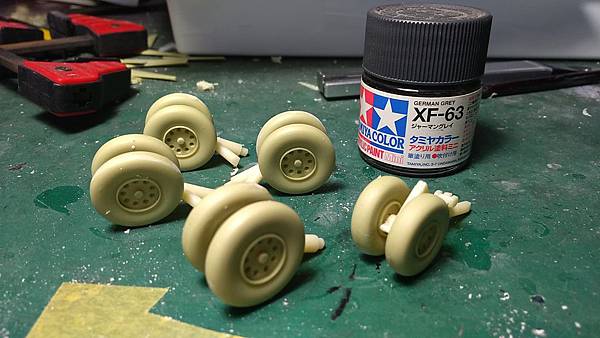
雖然是尼龍材質,為了安全,還是預做補強 2191128
reinforce the structures with steel


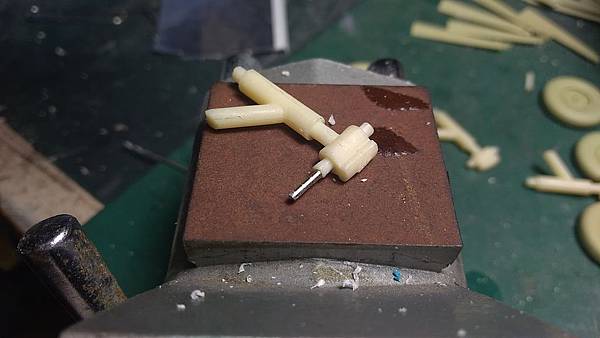
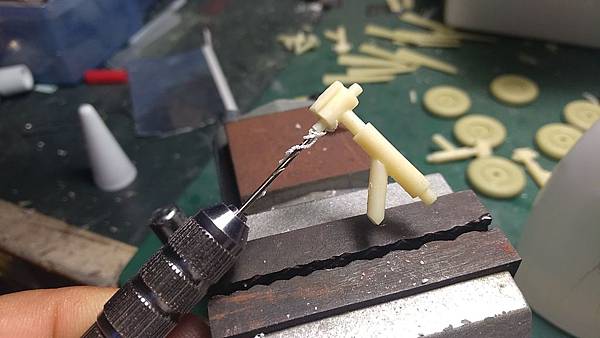


上底漆了 2191128
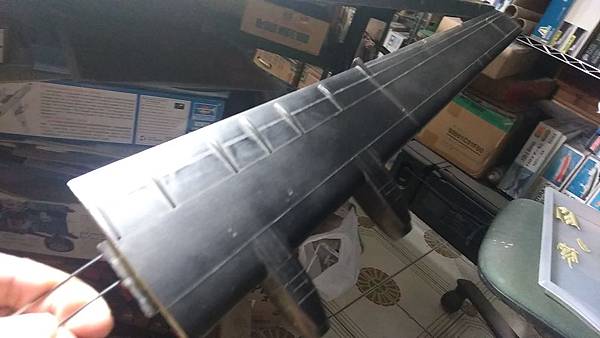
20191129

遮蓋窗戶,慢慢的切 musk the window with tape
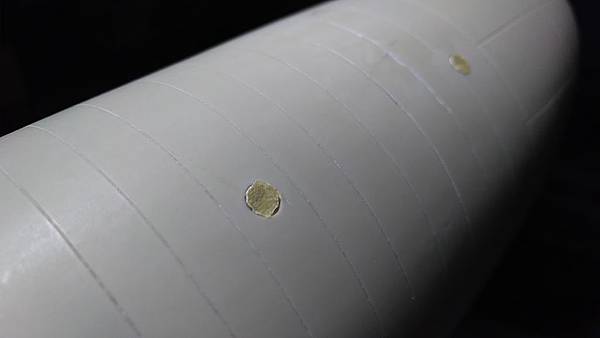
底漆乾了上主色,因為面積過大,為求效果一致,我還是用田宮
的噴罐,穩定又快 2191130
I use the TAMIYA spary painting for good effects

WALKWAY 線條完成 20191201

垂直尾翼的除冰線,外加一隻小蒼蠅 ~同比例的XF-85
20191202

慢慢多層次的噴漆作業

大部完成, 與同比例的F-104 比對大小差異 20191203
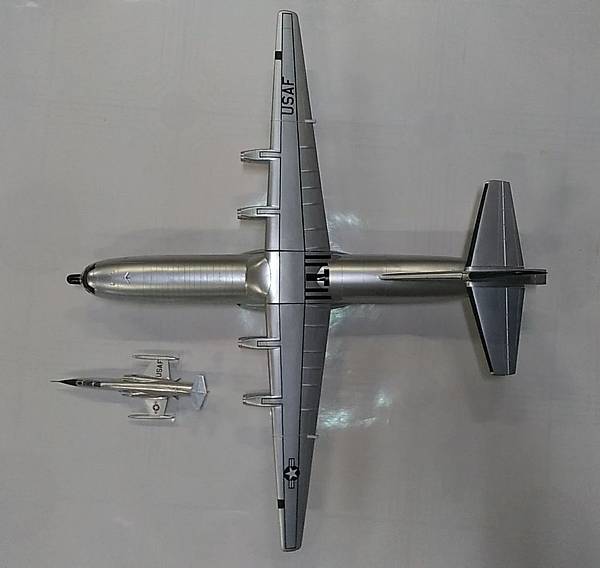
準備螺旋槳警告安全線的噴漆 porpellers warnig line

有了機身警告線,似乎多了一些感覺與焦點,還是不夠~~
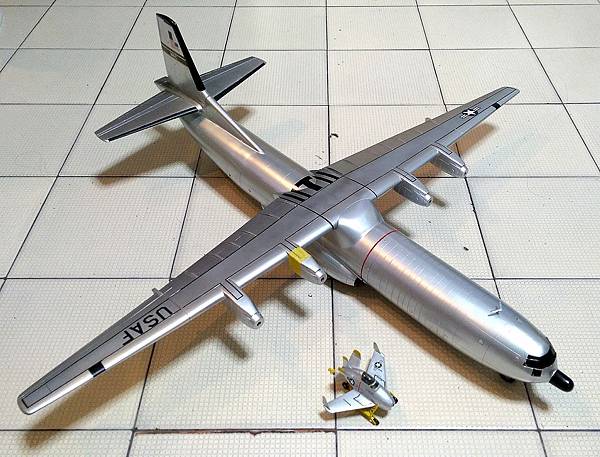
引擎上下方的警告紅線也是不能省的 20191204


嘿嘿嘿...果然沒有白費工夫,效果真好

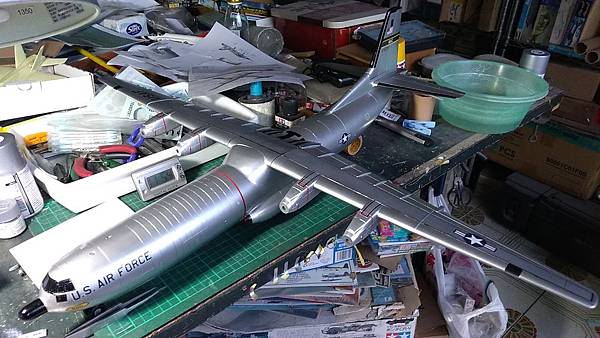
換個角度看有不同的感覺


螺旋槳的噴漆作業 2191205 propeller painting

完成了螺旋槳就差不多了

20191206 finished


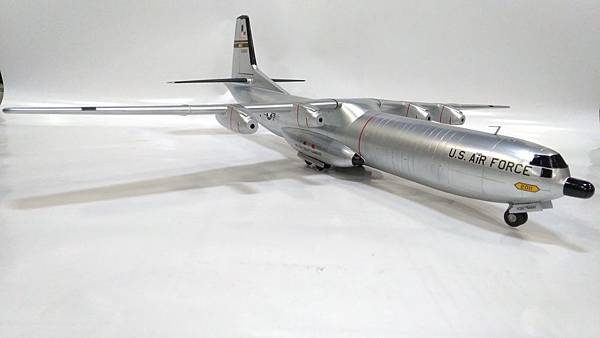

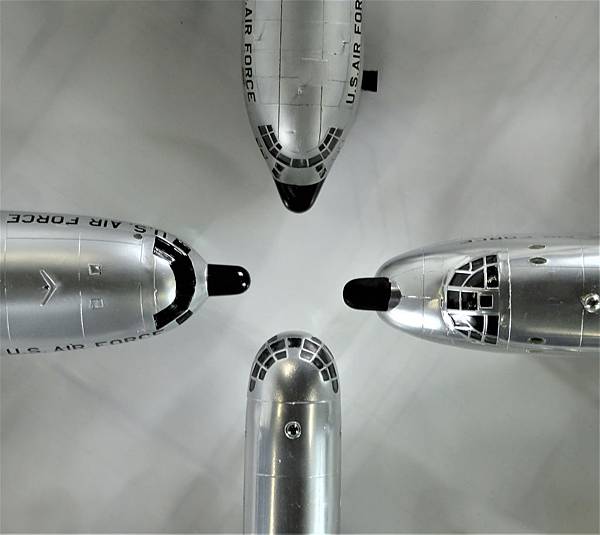
再來要做什麼當作2019 的年終作品呢?


 留言列表
留言列表


