IMG_0260.JPG

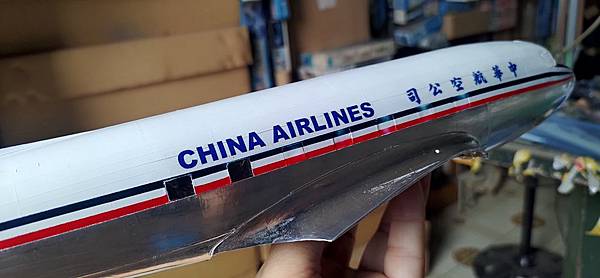
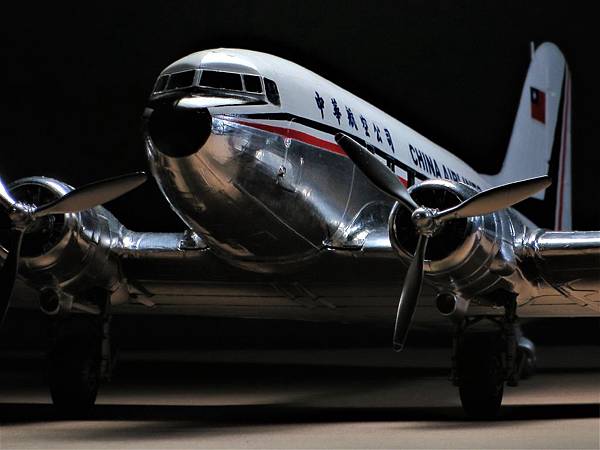
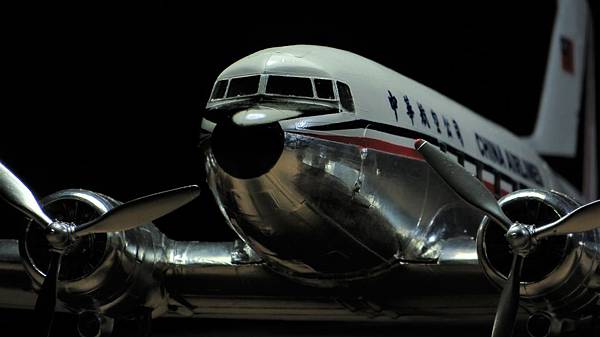
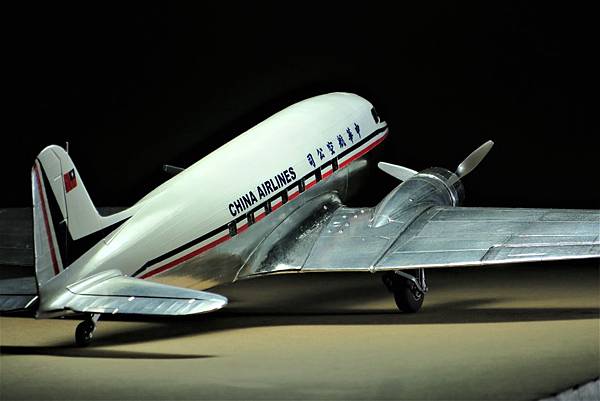
在一個藏在心裡很久的意念掣動下, 開始這個半金屬外觀

的模型的製作,我選的是中華航空的 DC-3塗裝

I have a dream to make a aluminum foil DC-3 from

long long ago, now I made it

51664SDC16878.jpg

套件用的是我庫存收藏多年的MONOGRAM 1/48 DC-3,

也很久沒做鋁皮的處理,就從小部位開始著手

I made it with the Monogram kit on in my stock,

it is a nice and simple kit.
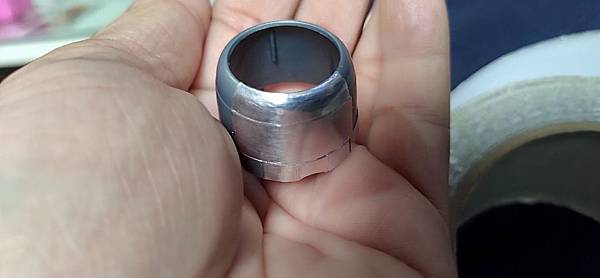
P_20200405_113653.jpg

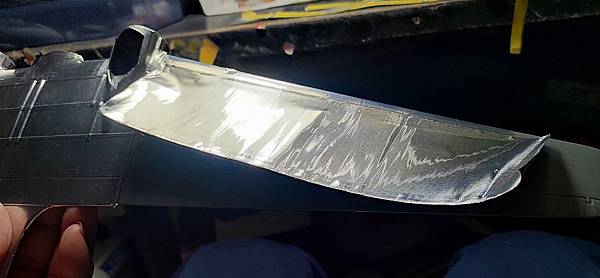
在第一個完成後,有點手感了再繼續做

After I made the first fairing I can feel the

touching of real aluminum foil is back!
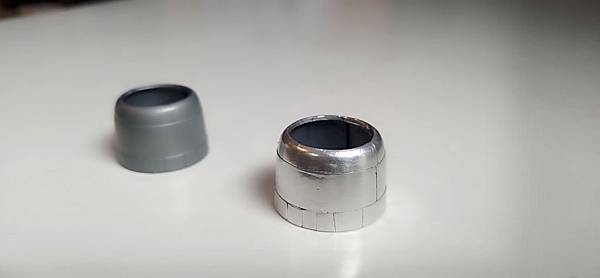
P_20200405_131541.jpg

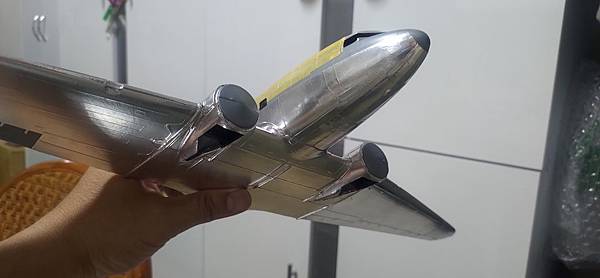
還好在一再嘗試錯誤的過程中, 包好了兩個引擎外罩

The 2 fairing is a new challenge to me

P_20200405_174941.jpg

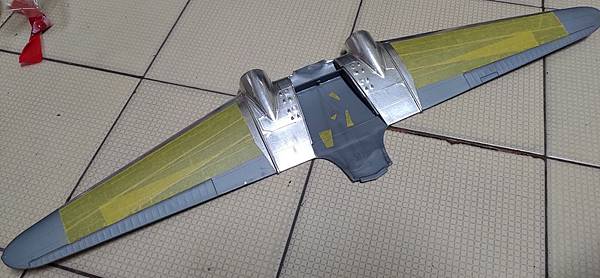
先來做主翼的假組合

pre-assemble of the main wing
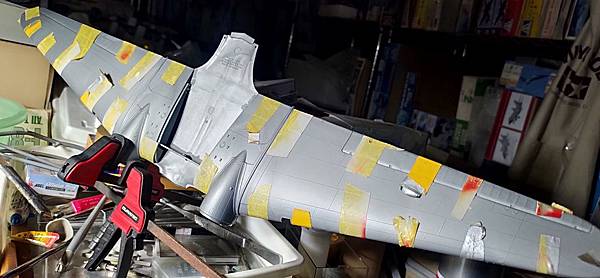
P_20200405_215403.jpg

機身的假組合,試試看如何做成機翼可拆的改造,方便收藏

I make the structure for taking down the wing from

fuseladge that is easy for storage
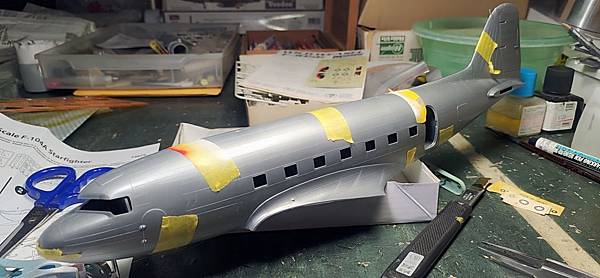
P_20200405_220359.jpg

剪下大零件,剩下這些,這就是MONOGRAM 他開模分件

設計的優點,

The reason why I love MONOGRAM model because the

design of mold is just as good as it should be,no

more extra unnecessary small parts! 

P_20200405_220626.jpg

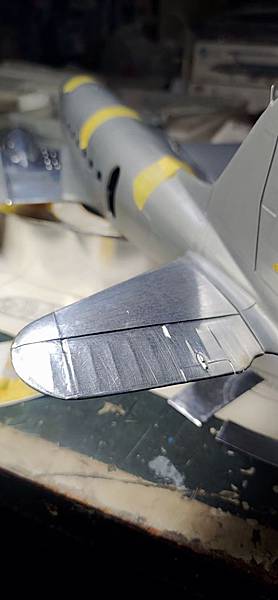
先把水平尾翼完成 tail wing finished

P_20200409_183337.jpg


P_20200409_185144.jpg

再來是主翼上引擎後方凸起的部位,又是另一個挑戰的開始

the engine mount in fornt of the wing made a curve ,

it is a difficult challenge.

P_20200410_114512.jpg

慢慢的來,急不得 slowly~~

P_20200410_192048.jpg

仔細看看,遠遠的看還可以

looks good in a distance

P_20200410_192749.jpg

插進水平尾翼看看質感

P_20200410_192853.jpg

主翼下方蒙皮大片處理

The bottom under the main wing is one piece
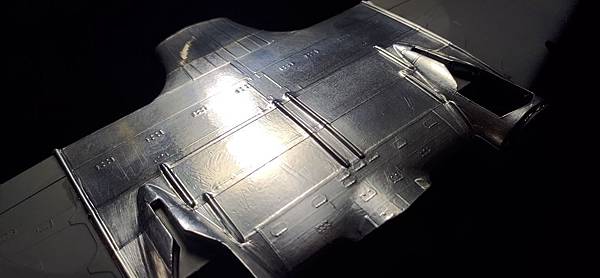
P_20200412_185516.jpg

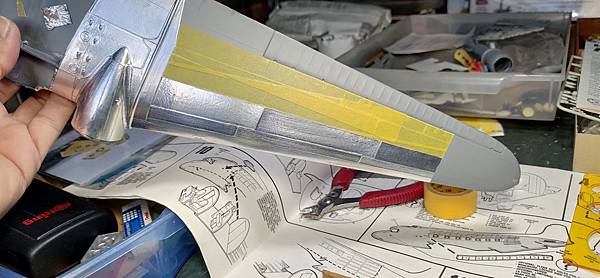
主翼面積太大慢慢進行

P_20200412_193123.jpg

主翼上方的預備作業

P_20200412_221913.jpg

還是一樣,只能慢慢地進行

P_20200414_063603.jpg


P_20200414_064042.jpg


P_20200414_093309.jpg

半邊的主翼鋁皮完成一半了!

P_20200414_093910.jpg


P_20200414_093915.jpg

亮~ 就是亮

P_20200414_151946.jpg

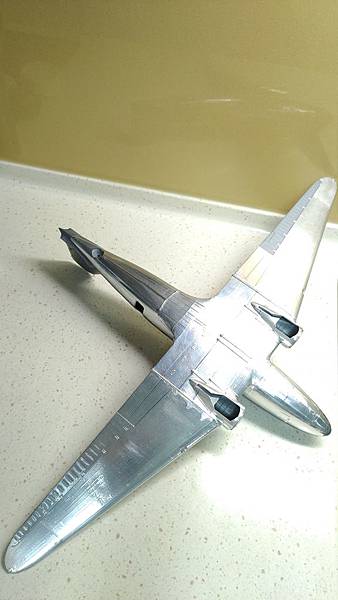
下方機翼就大面積處理

P_20200416_224855.jpg


P_20200416_224858.jpg


P_20200416_224906.jpg

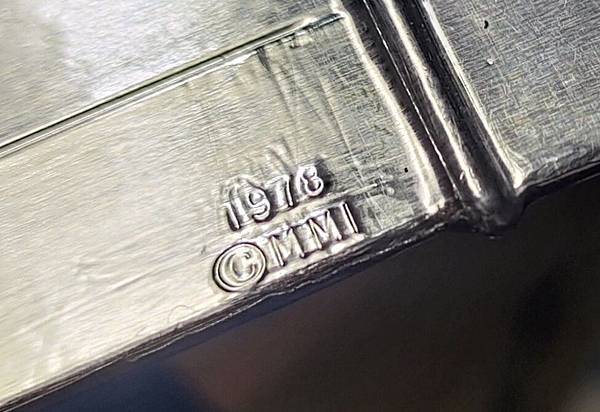
MONOGRAM 的刻記 1978, 當然要留下來

P_20200416_232143.jpg


P_20200416_232143_1.jpg

主翼總算完成了!!

P_20200417_120514.jpg


P_20200422_084802.jpg

最麻煩的就是這裡....................

P_20200507_170940.jpg


P_20200508_084743_1.jpg


P_20200508_211526.jpg


P_20200508_211531.jpg

還是一樣慢慢的磨!!

P_20200509_195316.jpg

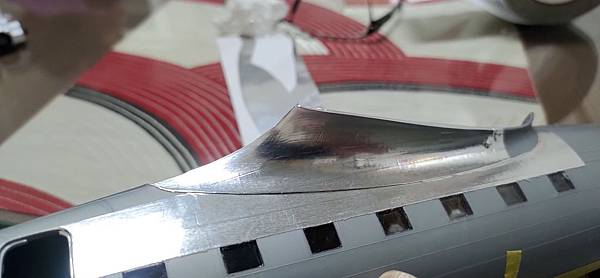
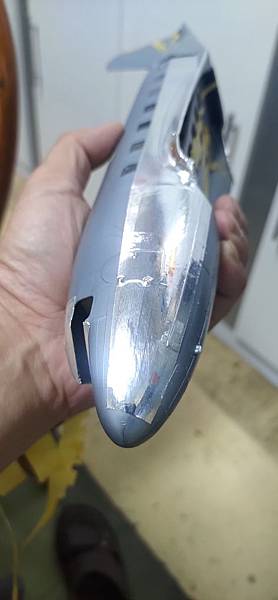
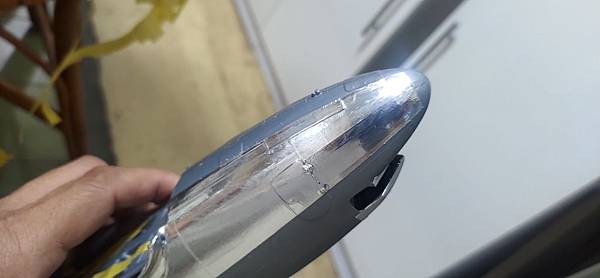
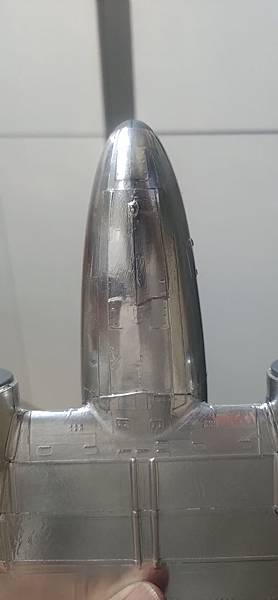
機鼻下方也是另一個挑戰

P_20200509_195359.jpg


P_20200509_215157.jpg


P_20200509_215308.jpg


P_20200509_215322.jpg


P_20200509_215333.jpg

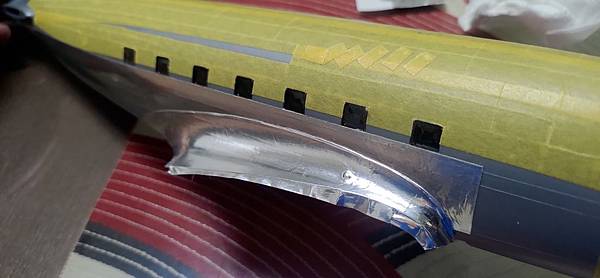
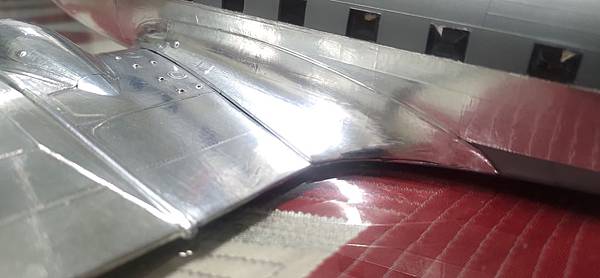
主翼根部的蒙皮處理

P_20200509_215855.jpg


P_20200509_215908.jpg


P_20200509_220000_1.jpg

機身下半部完成

P_20200510_095258.jpg


P_20200510_095417.jpg

主輪架的預作噴漆處理

P_20200512_091821_1.jpg


P_20200512_091836_1.jpg

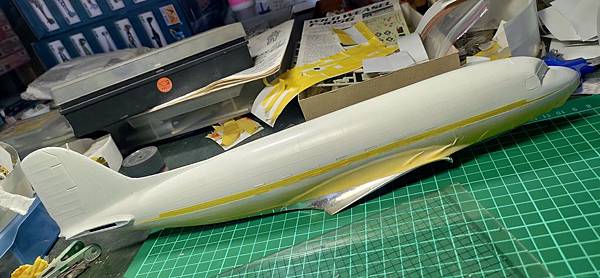
機身上半部的噴漆作業開始

P_20200515_100955.jpg

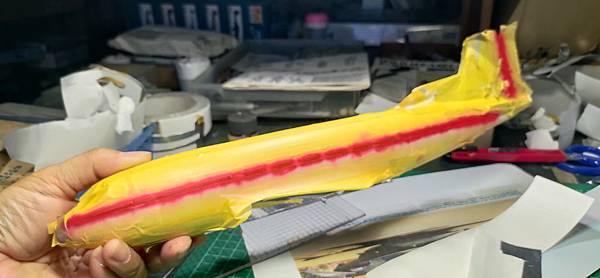
沒有現成的貼紙,遮噴作業是必須的

P_20200515_145941.jpg

一個一個來,急不得

P_20200515_153109.jpg


P_20200515_201443.jpg

在好友 袁定文 的幫助下,0529 最重要的水貼終於出現了!


P_20200529_144454.jpg


P_20200529_144606.jpg

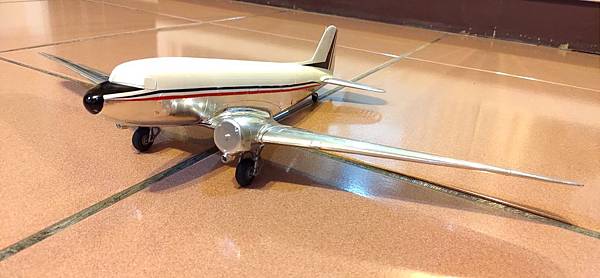
至此也是宣告這次的目標接近尾聲了!!

P_20200529_114444.jpg

在確認透明漆乾了,當然接著就是昭告天下開光完成~~
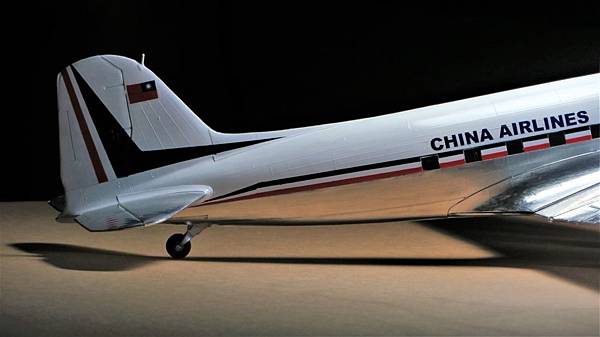
IMG_0258.JPG


IMG_0260.JPG


IMG_0267A.jpg


IMG_0238.JPG


IMG_0262.JPG


IMG_0246.JPG


IMG_0233.JPG


IMG_0249.JPG


IMG_0257.JPG


IMG_0254.JPG


IMG_0252.JPG


IMG_0268.JPG


IMG_0269.JPG


arrow
arrow

    bionicle123 發表在 痞客邦 留言(2) 人氣()